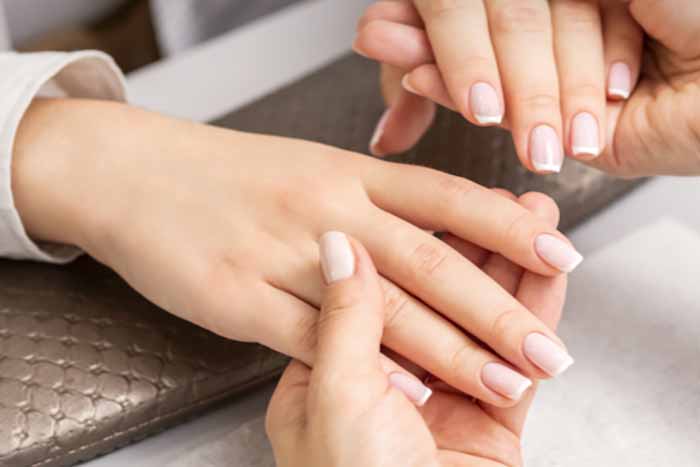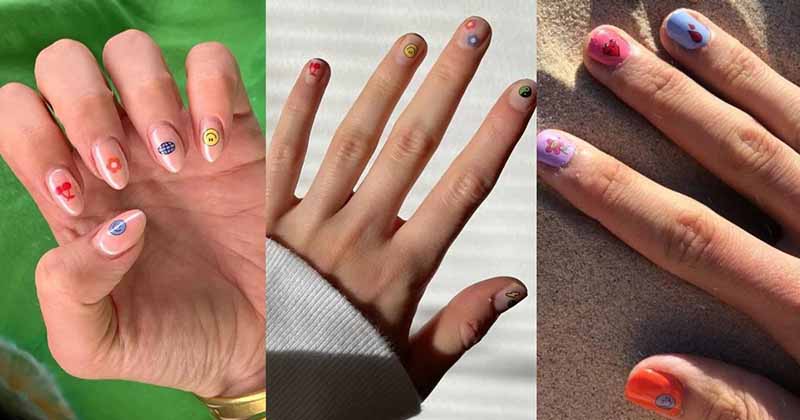
If you have ever tried to paint your own nails with gel polish, you know the struggle. The polish floods the cuticles. The layers are too thick. The lamp beeps, and somehow the edges are still soft. Gel nail stickers solve most of those problems. They are thin, flexible strips made from real gel polish that has been partially cured in the factory. You stick them on, smooth them out, and cure them under a UV or LED lamp. The result is a glossy, salon-quality finish without the mess of brushes, bottles, and freehand painting.
For beginners, gel nail stickers are the most forgiving and accessible option. Here is why they are so beginner-friendly, what tools you need, how to apply them at home, and the details that make the difference between a flawless set and a frustrating one.
Why Gel Nail Stickers Are Best for Beginners?
The biggest advantage is that the design is already done. You do not need a steady hand to paint a clean French tip or a delicate floral pattern. The colour and pattern are printed directly onto the sticker. All you have to do is place it correctly and cure it. This removes the most difficult part of at-home gel manicures: application.
Gel stickers are also more forgiving than liquid gel polish. If you place a sticker slightly off-centre, you can usually lift it and reposition it before curing. If you get a small wrinkle, you can smooth it out with a wooden stick. Liquid gel polish, by contrast, starts to pool and set the moment it touches the nail. There is very little room for error.
Another advantage is that gel stickers are thin and flexible. They conform to the natural curve of your nail without adding bulk. This makes them comfortable to wear and less likely to lift at the edges. They also feel lighter than press-on nails, so you can wear them for days without noticing them.
Finally, gel stickers are gentle on the natural nail. You do not need to file the nail plate aggressively or use strong acetone for removal. Most gel stickers are removed with cuticle oil or warm water, which is much kinder to your nails than a full gel removal process.
Practical Advantages of Gel Nail Stickers
Beyond beginner-friendliness, gel stickers offer several practical benefits.
They are fast. A full set takes about 15 to 20 minutes. There is no drying time, no smudging, and no risk of ruining your nails because you needed to use your hands.
They are tidy. There are no bottles to spill, no brushes to clean, and no strong solvent smell. The process is contained and easy to manage, even in a small space.
They last well. With proper application, gel stickers stay glossy and chip-free for 10 to 14 days. That is significantly longer than regular nail polish, which often chips within a few days.
They are affordable. A single set costs a fraction of a salon gel manicure, and you can apply it on your own schedule.
They are versatile. Gel stickers come in hundreds of colours, patterns, and finishes—from sheer nudes and classic reds to chrome, glitter, and intricate nail art. You can change your look as often as you like without committing to a salon appointment.
Tools You Need for Your First Set
You do not need a professional kit to get started. These are the essentials:
- Gel nail stickers in your chosen design.
- A UV or LED lamp compatible with semi-cured gel stickers. LED is faster and usually cures in 60 to 90 seconds.
- A fine-grit nail file (180–240) for shaping and smoothing edges.
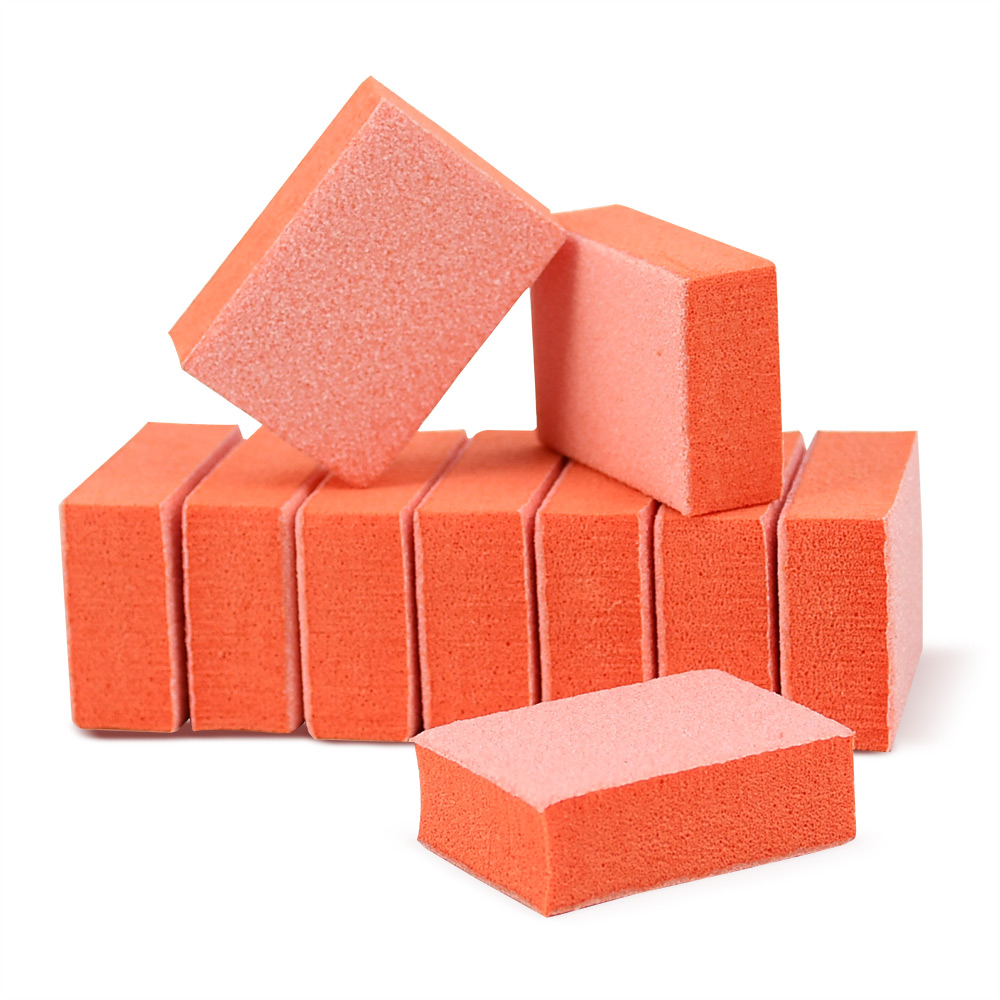
- A buffer block for light surface prep.
- A cuticle pusher (wooden or rubber-tipped).
- Lint-free wipes and rubbing alcohol or nail dehydrator.
- Small scissors for trimming excess sticker length.
- A wooden stick for smoothing bubbles and pressing edges.
- Cuticle oil for aftercare.
- Optional: a gel top coat for extra durability.
How to Apply Gel Nail Stickers at Home?
The process is simple, but preparation matters. Do not skip the prep.
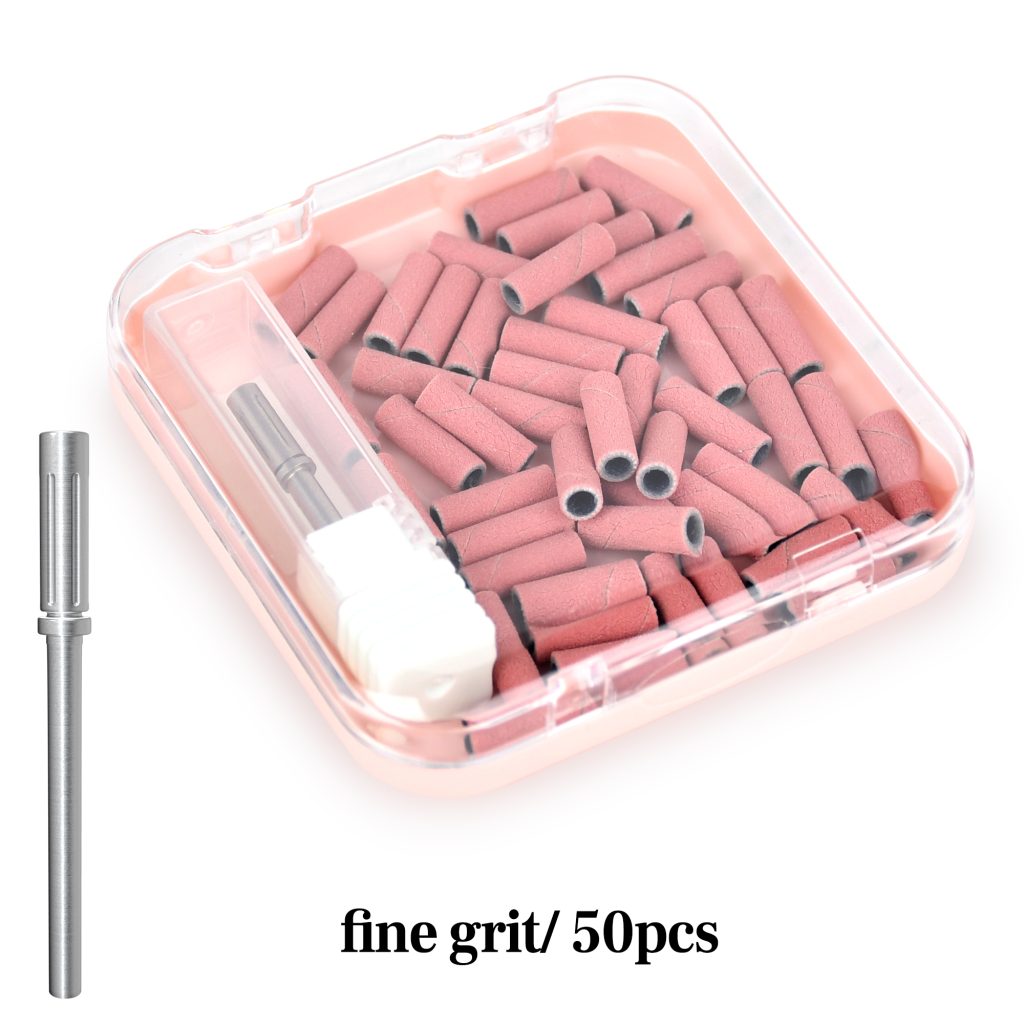
Step 1: Prep your nails. Remove old polish. Wash your hands and dry them thoroughly. Push back your cuticles gently. Lightly buff the nail surface with a buffer block . Wipe each nail with rubbing alcohol or a dehydrator to remove oils and dust. Do not touch your nails after this step.
Step 2: Choose the right size. Hold each sticker over your nail without removing the backing. Pick the size that covers the nail from sidewall to sidewall without touching the skin. If you are between sizes, choose the smaller one. A sticker that is too wide will lift at the edges.
Step 3: Apply the sticker. Peel the sticker from the backing. Place the rounded edge just above the cuticle, leaving a tiny gap. Press from the centre outward, smoothing out air bubbles with a wooden stick.
Step 4: Trim and file. Fold the excess sticker over the free edge or trim it with small scissors. File downward in one direction to remove the excess and seal the edge.
Step 5: Cure. Place your hand under the UV or LED lamp and cure for the recommended time, usually 60 to 90 seconds. Make sure all five fingers are fully exposed to the light.
Step 6: Seal and hydrate. For extra durability, apply a thin gel top coat and cure again. Finish with cuticle oil.
Important Things to Keep in Mind
Do not skip the dehydrating step. Oils prevent adhesion. Wipe the nail plate thoroughly before applying the sticker.
Keep the sticker off the skin. Any contact with the cuticle or sidewalls creates a lifting point. Clean up before curing.
Press the edges firmly. The edges are where lifting starts. Use a wooden stick to seal them down.
Cure fully. Under-cured stickers feel soft and peel quickly. If the sticker still feels tacky, give it more time.
Avoid water for one hour. Give the adhesive time to set fully.
Do not peel the stickers off dry. When it is time to remove, apply cuticle oil around the edges and lift gently with a wooden stick. Never force it.
Take breaks between sets. Give your natural nails a day or two of bare, oiled rest every month.
Final Thoughts
Gel nail stickers are the easiest way for a beginner to achieve a salon-quality manicure at home. The design is already done, the application is forgiving, and the removal is gentle. With a few basic tools and a careful prep routine, you can apply a flawless set in under twenty minutes. Start with a simple design, practice your placement, and enjoy glossy, chip-free nails without the mess. Once you get the hang of it, you will wonder why you ever struggled with liquid gel polish.
Read also: Green Nails: What They Are, Why They Happen, and How to Treat Them